


If you have ever sent a cable photo to a factory and received a long list of follow-up questions, you already know the problem. The photo may show the outside of the assembly, but it does not show the pin mapping, the measuring points, or what the cable has to survive in the machine. A few practical details at the beginning make a custom wiring harness much easier to review and much less likely to come back for a second sample.
Start With the Equipment
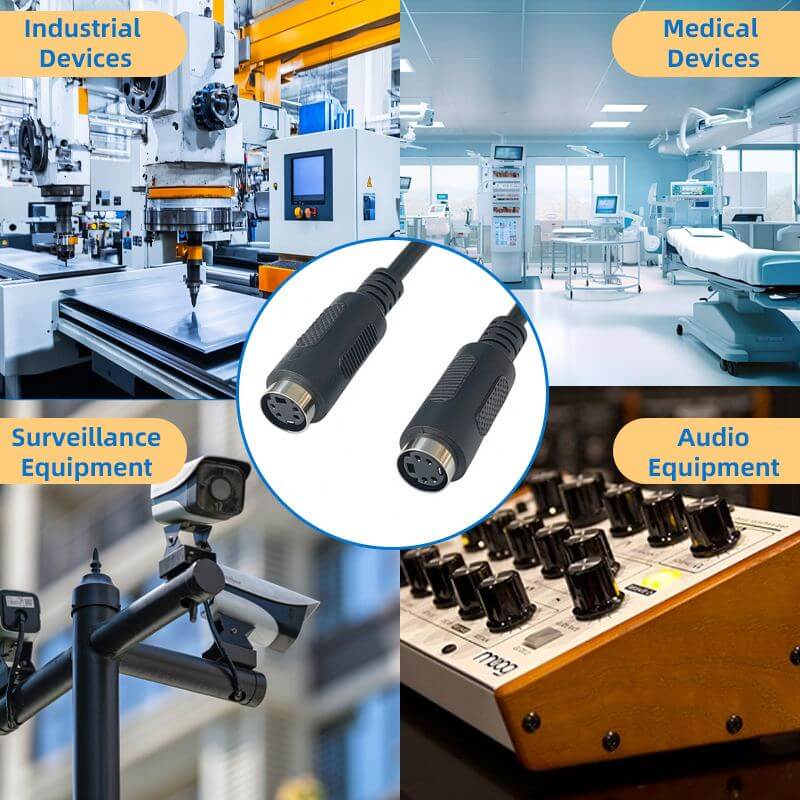
Describe the equipment first. What does the cable connect? Where will it be installed? Will someone handle it every day, or will it stay inside a cabinet? A lead used on an audio device may look similar to one used on a camera, a medical device, or industrial equipment. The working conditions are not necessarily similar.
Write down the conditions that matter at the installation point. Temperature, moisture, dust, vibration, repeated flexing, abrasion, oil, cleaning agents, and available space can all affect the construction. If you have not chosen an IP level or a flex-life target yet, leave a note saying so. An open question is easy to discuss; an unstated assumption can become a sample problem.
Send More Than a Cable Photo
A drawing does not have to be beautiful to be useful. It needs to show both ends, the connector views, overall length, branch points, routing, and any dimension that affects installation. Put a revision number or date on it. That small habit prevents an old sketch from quietly becoming the version used for production.
No finished drawing? Send what you have: a hand sketch, several photos, a physical sample if available, and a simple connection table. Mark each connector and say which face is shown in the pinout. A photo can help identify the connector shape and key, but it cannot normally prove which wire goes to which cavity. That part needs to be written down.
Name the Parts You Actually Need
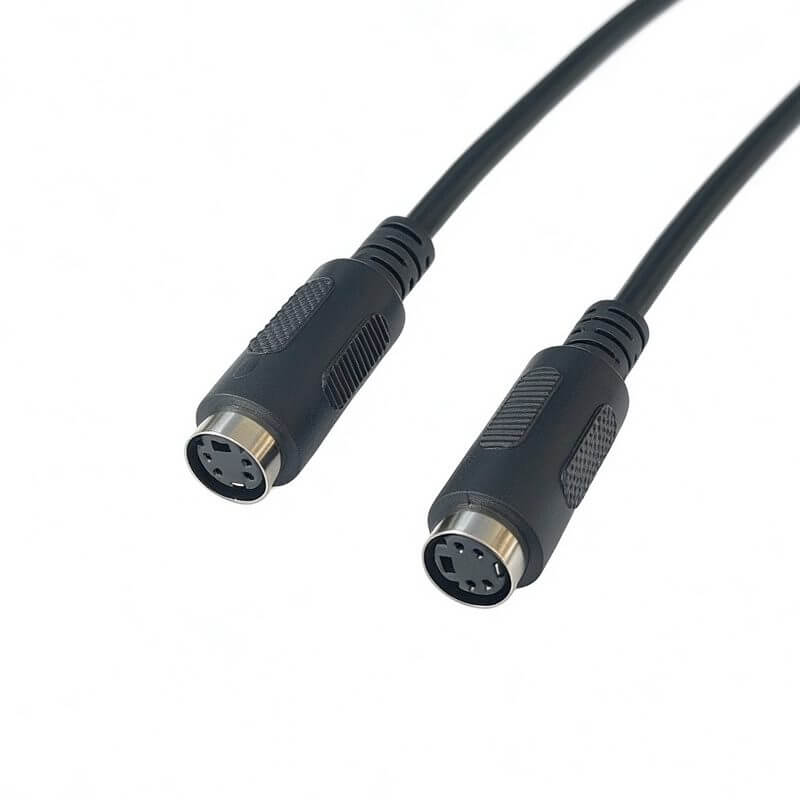
For each connector, give the manufacturer and full part number when possible. Position count, gender, keying, terminals, seals, backshells, and permitted substitutes may all affect whether the assembly fits. If the part number is unknown, take photos from more than one angle and label the ends. Two connectors can look alike and still mate differently.
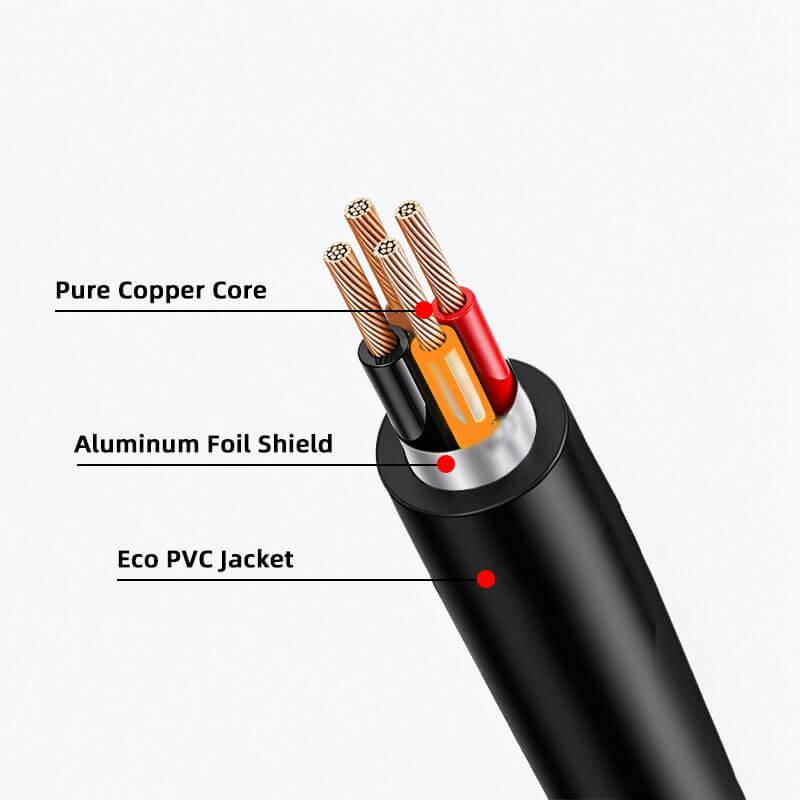
Describe the cable in the same practical way. Include conductor size, conductor material, insulation or jacket, color, core count, and required temperature or voltage rating. For a shielded cable, explain the shield and what should happen at each end. ‘Shielded’ is a useful starting word, but it is not a complete build instruction.
Measure the Route, Not Just the Overall Length
Cable length is often the first detail people discuss and the first detail they measure differently. Show where the dimension starts and ends: connector face, backshell, strain relief, or another reference. For a branched assembly, measure every branch from the same datum and mark its direction. A quick routing sketch can show which side faces the equipment and where the cable enters an enclosure.
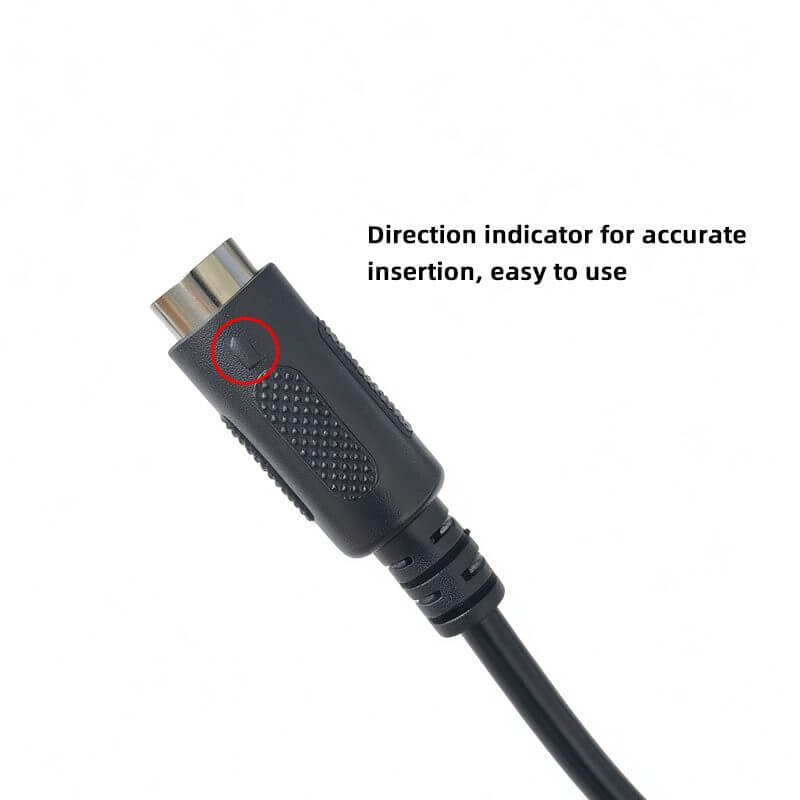
Do the same for orientation. Mark the key, insertion direction, or face that must point toward the equipment. A harness can contain the correct parts and still be awkward to install if one end is rotated. If the cable has to turn in a narrow space, add the available clearance and any bend-radius requirement already defined by the equipment designer.
Spell Out What the Cable Has to Survive
Give the electrical requirements in plain, checkable terms: operating voltage and current, circuit function, polarity, grounding, shielding, and any signal or EMC concern. It helps to separate the design requirement from the inspection method. For example, say which circuits need continuity or short-circuit testing and whether a test record is expected.
Also state the destination market and any customer, industry, or regulatory requirements already known. A country name alone does not decide which tests apply. The end product and its use still have to be considered, and someone needs to be identified as the approver of the compliance documents.
Keep Prototype and Production on the Same Page
Tell the manufacturer how many samples you need, what production quantity you expect, and whether a forecast is available. Give the target timing, but separate firm dates from estimates. Even a rough forecast helps explain where the project is in its development.
Before release, collect the approved drawing revision, BOM, pinout, labels, test requirements, and any agreed deviations in one package. Keep comments on the sample with that revision. If the wire, connector, length, or routing changes, issue a new revision and identify the change. Do not make production guess which of several similar files is the current one.
Is a Photo Enough?
Sometimes a photo is all that is available, and it is still worth sending. It can reveal the connector family, the general cable form, markings, and questions that need to be answered. It just cannot establish everything. Exact dimensions, hidden pin assignments, wire gauge, materials, electrical ratings, and acceptance criteria may remain unknown.
Add a ruler or another scale reference when size matters. Photograph both ends and include every visible marking. Then write a short note about what is known and what is not: pinout not confirmed, wire gauge not confirmed, jacket material not confirmed. That gives the engineering team a clean starting point instead of forcing it to treat a guess as a specification.
Quick Checklist Before You Send the Package
- Application, equipment, installation location, and working environment
- Drawing or sketch with dimensions, branches, routing, and revision
- Connector manufacturer and part number, or labeled multi-angle photos
- Pinout table showing circuit, wire color, and connector cavity
- Wire gauge or cross-section, conductor, insulation, and shield details
- Voltage, current, polarity, grounding, and applicable EMC requirements
- Labels, sleeving, protection, strain relief, and connector orientation
- Inspection and test criteria, required records, and approval process
- Prototype and production quantities, target timing, and destination market
Before You Release a Custom Wiring Harness
The best project package is not necessarily the longest one. It is the one that answers the questions that could change the build: which parts are used, which pin carries each circuit, where each length is measured, what the cable must withstand, and how the finished assembly will be checked. Once those decisions are visible, the sample has a much better chance of matching the equipment on the first try.
Huajunxin works with OEM cable projects involving DC power cords, audio cables, USB-to-DC cables, and other custom cable assemblies.
Contact us with your drawing, sample photographs, or current specifications, and we will help clarify any open questions before your project reaches the sample bench.
FAQ
Q: What information is needed for a custom wiring harness quote?
A: Start with the application, drawing or sketch, connector details, pinout, wire construction, dimensions, electrical requirements, test criteria, quantities, and timing. If one detail is not known, mark it as unknown and include photos or a sample. That is more useful than allowing an assumption to become part of the first build.
Q: Can a manufacturer quote a wire harness from a photo?
A: A photo can support an early review, but it may not show the pin assignment, exact dimensions, wire gauge, materials, or electrical ratings. Add scale references, connector markings, known requirements, and a short list of open questions. The manufacturer can then separate what is visible from what still needs confirmation.
Q: How should I provide connector pinout information?
A: Use a table with the connector name, viewing or mating-face orientation, cavity number, circuit function, and wire color. Add a drawing or connector view that uses the same orientation. Matching the table to the picture is a simple way to prevent a pinout error.
Q: What should be approved before a custom cable moves to production?
A: Approve the latest drawing, BOM, connector and wire details, pinout, dimensions, labels, inspection criteria, and agreed deviations. Keep the sample comments with that revision. Production should receive one clear package, not several files that differ by one small detail.
 Address: A203, Building 3, Xinsheng Community, Longgang Subdistrict, Longgang District, Shenzhen, Guangdong Province


